It was a Friday night, the kind of night that should have been a quiet, comforting affair of leftovers and a Netflix marathon. Instead, I found myself staring at a half‑baked pizza that had turned into a soggy, flavorless mess, the crust so rubbery it made me think of a rubber band that had been stretched too far. I was about to give up and order takeout when a friend texted me a link to a gluten‑free pizza crust recipe that promised “hand‑crafted perfection in minutes.” That moment, that tiny spark of curiosity, set me on a culinary quest that would forever change how I think about pizza.
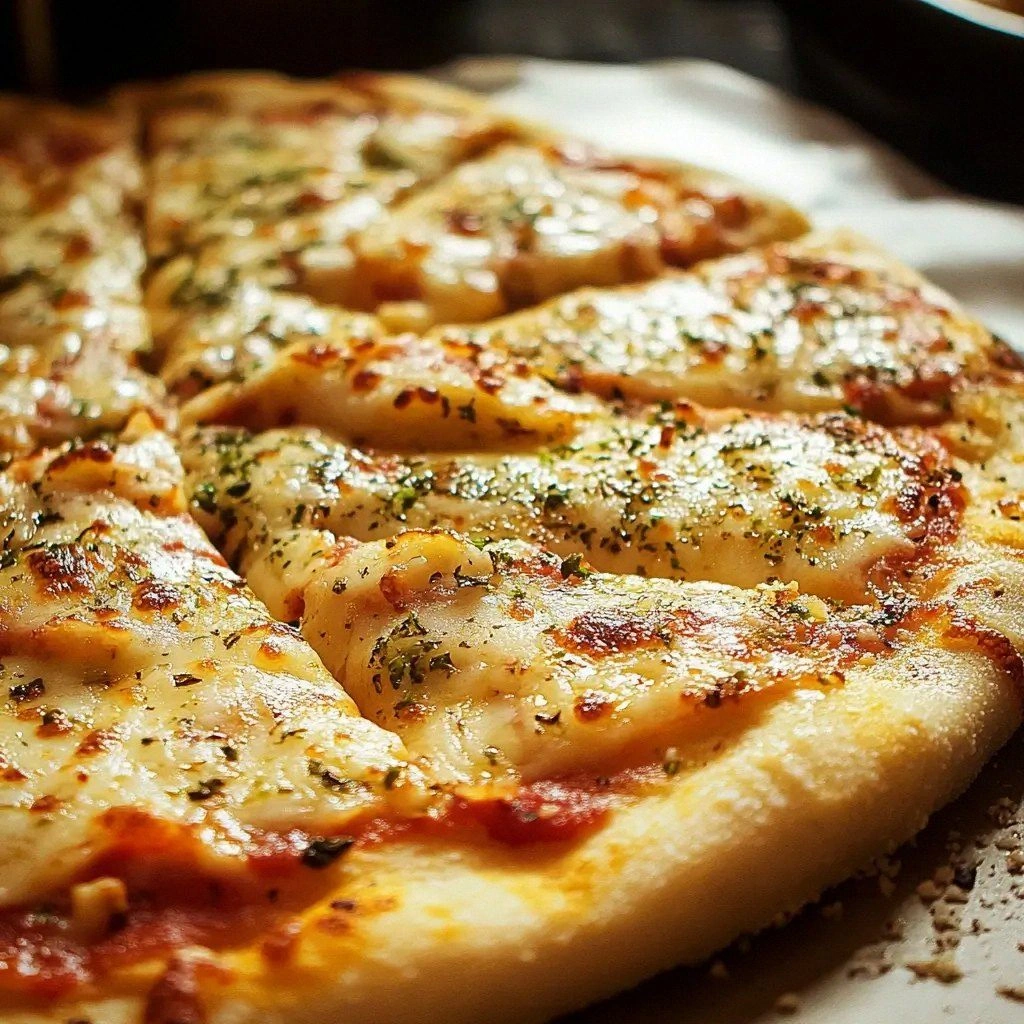
Picture this: the oven door opens, and a golden, aromatic crust sits on the stone, its edges crisp and slightly caramelized, the steam curling like a fragrant cloud. The scent of olive oil, a whisper of apple cider vinegar, and a hint of toasted flour hit your nose first, followed by the subtle sweetness of a touch of sugar. When you slice into it, the crumb is airy, almost pillowy, yet firm enough to hold any topping you desire. The first bite delivers a buttery crunch, a savory saltiness, and a faint citrus lift that keeps you reaching for more. That is the flavor profile I was chasing, and it is what this recipe delivers with unapologetic confidence.
Why is this version of a gluten‑free pizza crust so different from the countless variations you’ll find online? The answer lies in a meticulous balance of texture and taste, a secret ingredient that elevates the crust from plain to extraordinary, and a technique that guarantees a crispy edge without the dreaded chewiness. It’s not just about substituting wheat flour; it’s about creating a base that sings with every bite, that holds sauces and cheeses like a seasoned pro, and that can be made in a fraction of the time a traditional dough requires. The result is a crust that feels like a slice of heaven, and I dare you to taste this and not go back for seconds.
Let me walk you through every single step — by the end, you’ll wonder how you ever made it any other way. From the first whisk to the final golden finish, I’ll share the tricks, the hacks, and the little secrets that make this crust stand out in a world of gluten‑free cooking. So grab your apron, keep your senses sharp, and get ready to become a pizza‑making maestro.
What Makes This Version Stand Out
- Flavor: The subtle sweetness from sugar balances the savory notes, creating a crust that feels indulgent without being overpowering. It’s like a well‑crafted chocolate cake that isn’t too sweet but still satisfies.
- Texture: The combination of xanthan gum and baking powder gives the dough a tender crumb while the olive oil adds a buttery richness that melts in your mouth. The result is a crust that’s both crisp on the outside and soft inside.
- Speed: In under 30 minutes you can have a ready‑to‑top crust, making it perfect for spontaneous dinner parties or last‑minute cravings. No long rising times, no waiting around.
- Versatility: Whether you’re topping it with marinara, pesto, or even a sweet dessert glaze, this crust holds up like a champ. Its neutral base invites any flavor profile.
- Gluten‑free Integrity: The blend of gluten‑free flour and xanthan gum mimics the structure of wheat dough, so you get the same mouthfeel without the gluten. It’s a reliable, repeatable recipe that never disappoints.
- Crowd‑Pleaser: Friends who are skeptical about gluten‑free pizza will be amazed at how close this comes to the real thing, and they’ll keep asking for the recipe. It’s the kind of dish that turns skeptics into believers.
- Ingredient Quality: Using high‑quality olive oil and a fresh, active yeast gives this crust a depth of flavor that most mass‑produced gluten‑free crusts lack. It’s the difference between a supermarket loaf and a chef’s signature.
- Make‑Ahead Friendly: You can prepare the dough in advance, refrigerate it overnight, or freeze it for later use, making it a lifesaver for busy weeknights. The dough stays fresh and ready to bake.
Alright, let’s break down exactly what goes into this masterpiece…
Inside the Ingredient List
The Flour Foundation
At the heart of this crust lies the gluten‑free all‑purpose flour blend. It’s the silent hero that gives the dough structure and a neutral flavor that lets toppings shine. If you skip this, the crust will crumble and taste like a dry biscuit. For best results, sift the flour blend before mixing to avoid clumps and ensure a silky texture. When selecting a blend, look for one that includes a mix of rice, potato, and tapioca starches; these starches provide the right chew.
The Binding Crew
Xanthan gum is the secret sauce that mimics gluten’s elasticity. It’s the glue that holds the dough together, preventing it from falling apart when you stretch it. Baking powder adds lift, giving the crust a light, airy rise that’s crucial for that tender crumb. If you’re allergic to xanthan, try psyllium husk powder in a 1:1 ratio; it will deliver similar binding properties.
The Sweet and Salty Duo
Sugar is more than just a sweetener; it caramelizes the crust’s surface, creating a beautiful golden color and a subtle caramel flavor. Salt, on the other hand, enhances every flavor in the dough, from the olive oil to the vinegar. Skipping either will result in a bland or overly sweet crust. A pinch of salt is enough to elevate the entire profile.
The Yeast Catalyst
Active dry yeast is the engine that powers the dough’s rise, giving it that airy structure. It’s activated by the warm water, which should be around 110°F to avoid killing the yeast. If you prefer a quicker rise, you can use instant yeast, but the flavor depth will be slightly diminished. Yeast also contributes a subtle tang that balances the sweetness.
The Acidic Touch
Apple cider vinegar adds a bright, citrusy note that cuts through the richness of the olive oil and the heaviness of the starches. It also helps activate the baking powder, ensuring the crust rises evenly. A small amount of vinegar can make a big difference in flavor, so don’t be tempted to omit it.
The Oil and Water Duo
Olive oil brings a buttery mouthfeel and a depth of flavor that can’t be replicated with water alone. It also helps create a crisp crust by inhibiting gluten formation (or in this case, the gluten‑free alternative). Warm water hydrates the dry ingredients, activates the yeast, and brings everything together into a cohesive dough. The ratio of oil to water is key; too much oil can make the crust greasy, too little can leave it dry.
Everything's prepped? Good. Let's get into the real action...
The Method — Step by Step
- In a large mixing bowl, combine the gluten‑free flour blend, xanthan gum, baking powder, salt, and sugar. Whisk them together until the mixture is even and free of lumps. This dry blend is the backbone of your crust, so make sure it’s perfectly mixed.
- In a separate small bowl, dissolve the active dry yeast in the warm water. Let it sit for 5 minutes, or until it becomes frothy—this is the moment of truth. If the mixture doesn’t froth, your yeast may be dead, and you’ll need to start over.
- Add the frothy yeast mixture, olive oil, and apple cider vinegar to the dry ingredients. Stir with a wooden spoon until a shaggy dough forms. The dough should look wet but not sticky; it’s normal for gluten‑free dough to be tacky.
- Turn the dough onto a lightly floured surface (use more gluten‑free blend). Knead for 2–3 minutes, just enough to bring the dough together. Gluten‑free dough doesn’t need to be kneaded as long as wheat dough, so be careful not to overwork it.
- Place the dough in a lightly oiled bowl, cover with a damp towel, and let it rise in a warm spot for 20–25 minutes. The dough should expand slightly, but not double in size. This short rise gives the crust its airy structure.
- Preheat your oven to 425°F (220°C) and place a pizza stone or baking sheet inside to heat. While the oven warms, roll out the dough into a 12‑inch circle on a parchment paper‑lined sheet. The dough should be about 1/4 inch thick.
- Slide the parchment and dough onto the preheated stone or sheet. Bake for 12–15 minutes, or until the edges are golden brown and the center feels firm to the touch. The aroma of toasted starches should fill your kitchen.
- Remove the crust from the oven and let it cool on a wire rack for 5 minutes before adding toppings. This brief rest allows the structure to set and prevents soggy edges.
- Add your favorite sauce, cheese, and toppings, then return the pizza to the oven for an additional 8–10 minutes, or until the cheese is bubbly and golden. The final bake gives the crust a satisfying crunch.
- Slice, serve, and enjoy the result of your culinary triumph. The crust should be crispy on the outside, tender on the inside, and packed with flavor.
That’s it — you did it. But hold on, I've got a few more tricks that'll take this to another level...
Insider Tricks for Flawless Results
The Temperature Rule Nobody Follows
Many people bake at a lower temperature, thinking it’ll prevent burning, but the truth is a higher heat is essential for a crisp crust. Aim for 425°F (220°C) and preheat your stone for at least 20 minutes. The high heat creates a steam burst that lifts the dough, giving it that perfect airy interior. If you’re using a pizza stone, keep it in the oven the entire time; a cold stone will cause uneven cooking.
Why Your Nose Knows Best
The aroma is a reliable indicator of doneness. When the crust starts to smell like toasted nuts or caramel, it’s almost ready. If you’re unsure, lift the pizza slightly to see if the edges are pulling away from the parchment. This visual cue, combined with the scent, ensures you don’t overcook or undercook.
The 5‑Minute Rest That Changes Everything
After removing the crust from the oven, let it rest on a wire rack for exactly five minutes. This short pause allows the steam inside to redistribute, preventing the crust from becoming soggy when you slice. It also gives the cheese a chance to set slightly, so it doesn’t ooze onto the crust when you cut.
The Right Rolling Technique
When rolling the dough, use a light touch and a rolling pin that’s slightly larger than your dough. Roll from the center outward to maintain even thickness. If you notice the dough tearing, it’s probably too dry; add a teaspoon of water and knead again to rehydrate.
The Quick Fix for a Sticky Dough
Gluten‑free dough can become sticky, especially in humid conditions. If this happens, dust the dough with a bit more flour blend and knead for another minute. The extra flour will absorb excess moisture without compromising the crust’s texture.
Creative Twists and Variations
This recipe is a playground. Here are some of my favorite ways to switch things up:
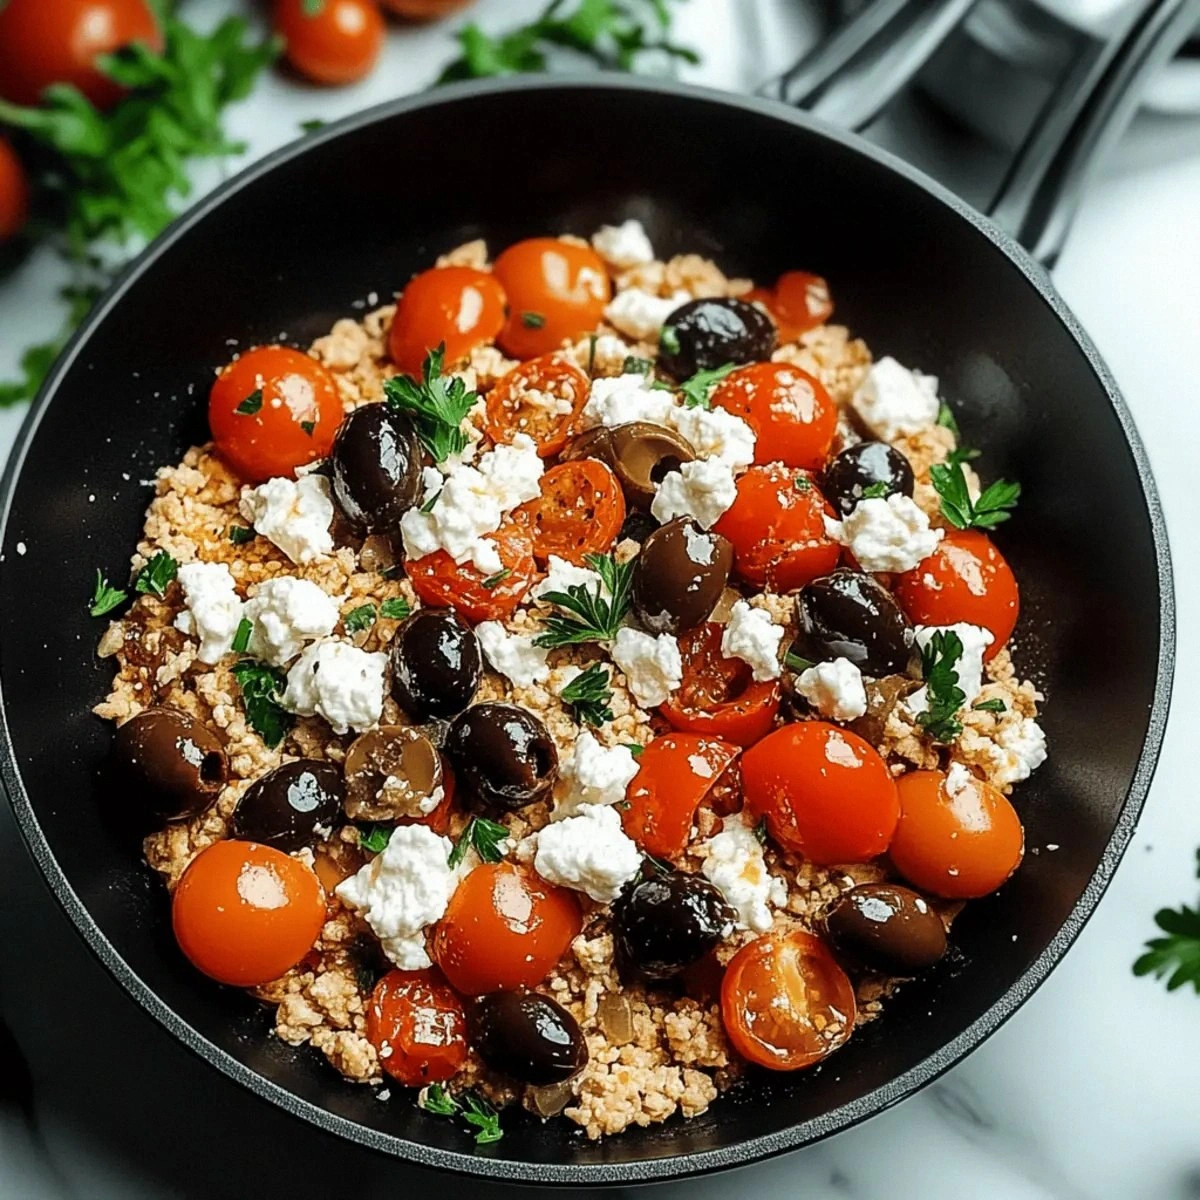
Mediterranean Medley
Swap the standard tomato sauce for a roasted red pepper puree. Add olives, capers, and a sprinkle of feta after baking. The result is a bright, briny pizza that’s perfect for summer evenings.
Breakfast Pizza
Top the crust with scrambled eggs, diced ham, and shredded cheddar. Finish with a drizzle of maple syrup and a pinch of smoked paprika. It’s a savory‑sweet breakfast that’s surprisingly easy to pull together.
Vegan Delight
Use a plant‑based cheese alternative and top with sautéed spinach, sun‑dried tomatoes, and a splash of balsamic glaze. The crust stays firm, and the flavors burst with every bite.
Dessert Slice
Spread Nutella over the raw crust, add sliced strawberries, and bake for an extra 5 minutes. The result is a gooey, chocolatey dessert that’s a hit with kids and adults alike.
Spicy Sriracha Pepper
Mix sriracha into the dough for a subtle heat that permeates the crust. Top with mozzarella, sliced jalapeños, and a drizzle of lime vinaigrette. The spicy kick will keep you coming back for more.
Herb‑Infused Crust
Add dried oregano, thyme, and rosemary to the dry blend. The aromatic herbs infuse the dough with Mediterranean vibes, making it a great base for a simple Margherita pizza.
Storing and Bringing It Back to Life
Fridge Storage
After baking, let the crust cool completely. Wrap it tightly in plastic wrap and store in the refrigerator for up to 3 days. The crust will stay crisp, and you can reheat it for a fresh bite.
Freezer Friendly
If you want to keep the crust for longer, place the cooled slice on a parchment sheet and freeze for up to 2 months. Once frozen, transfer the slice to a zip‑lock bag. To reheat, thaw at room temperature for 15 minutes, then bake at 350°F for 10 minutes.
Best Reheating Method
To revive a frozen crust, add a splash of water to the bottom of the pan and heat on medium for 2 minutes. Then finish in a preheated oven at 375°F for 5 minutes. The water steams the crust back to its original crispness without drying it out.