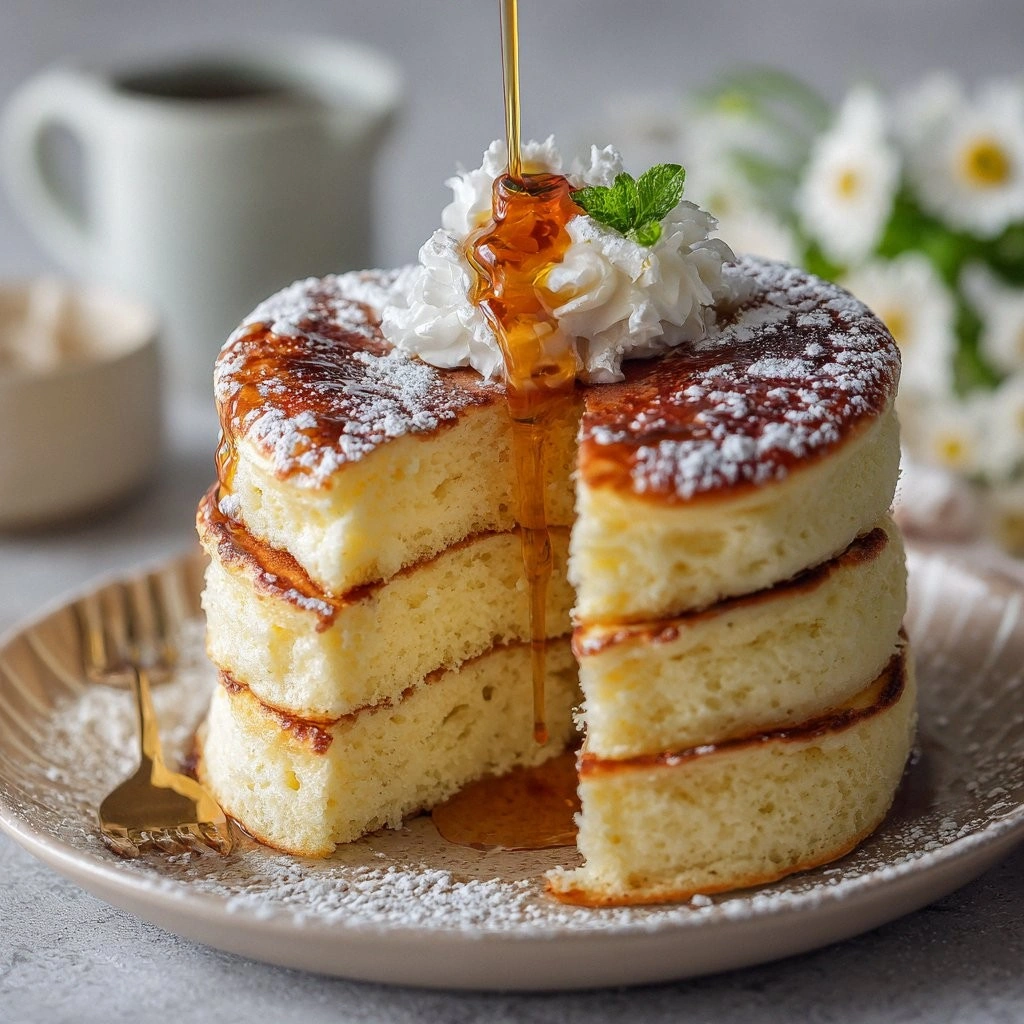
It all began on a rainy Saturday, the kind of day that makes you question whether you should stay home and binge-watch or venture into the kitchen to create something that feels like a hug. I was staring at a bag of flour, a carton of milk, and three eggs that had been sitting in the fridge for too long, and a sudden craving hit me like a bolt of electricity—something airy, light, and utterly comforting. I decided to test the waters with a Japanese souffle pancake, a recipe I’d seen in a glossy magazine but never dared to try at home. The first time I cooked it, the batter puffed up like a cloud in a clear blue sky, and the aroma that filled the kitchen was unmistakably sweet, buttery, and slightly floral from the vanilla. My friends who tasted it left the room in a trance, their mouths watering, their eyes widening, and their mouths forming the words, “I dare you to taste this and not go back for seconds.” That moment of pure culinary triumph cemented my love for this fluffy, cloud‑like breakfast, and I’ve been obsessed with perfecting it ever since. Let me walk you through every single step — by the end, you’ll wonder how you ever made it any other way.
What Makes This Version Stand Out
- Fluffiness: The batter is whisked until airy, giving each pancake a cloud‑like interior that melts in your mouth. The key is separating egg whites from yolks and beating them to stiff peaks, a technique borrowed from French soufflés. The result is a pancake that rises dramatically in the pan, creating a delightful contrast between the soft center and the crisp edges.
- Texture: Unlike ordinary pancakes that are dense and chewy, these are light and airy, almost like a sponge cake. The batter’s composition—minimal flour, generous egg whites, and a splash of milk—creates a delicate crumb that feels almost weightless. This texture makes each bite feel like a gentle, buttery kiss.
- Flavor: The subtle sweetness of the batter is balanced by a hint of vanilla and a pinch of salt, allowing the natural flavors of the eggs and milk to shine. The butter adds a rich, caramelized finish that lingers on the palate. The pancakes are not overly sweet, making them versatile for savory toppings as well.
- Simplicity: The recipe requires only nine ingredients, most of which you already have in your pantry. No special gadgets or exotic ingredients are needed, yet the outcome feels indulgent and sophisticated. This simplicity invites beginners to experiment while seasoned cooks can tweak the proportions for their personal taste.
- Visual Appeal: The golden‑brown crust contrasts beautifully with the pale, almost translucent interior. When stacked, the pancakes form a tower of elegance that looks as good as it tastes. The lightness of the batter gives the pancakes a “floating” appearance that’s hard to resist.
- Make‑ahead Potential: These pancakes can be cooked in advance and reheated without losing their fluffiness, making them an excellent brunch option for busy mornings. When stored properly, the pancakes keep their airy texture for up to 48 hours in the refrigerator. This convenience factor is a game‑changer for families or meal‑preppers.
Inside the Ingredient List
The Flour Base
All‑purpose flour is the backbone of the batter, providing structure without adding heaviness. Use a light hand—two cups is enough to keep the pancakes airy. If you skip the flour, the batter will become too liquid, and the pancakes will spread into thin, soggy sheets. A good tip: sift the flour to avoid clumps, which ensures a smooth, uniform batter.
The Leavening Crew
Baking powder is the secret agent that triggers the rise. A teaspoon and a half of it gives the pancakes a lift that’s both dramatic and stable. If you substitute baking soda, you’ll need an acid like yogurt or buttermilk, which changes the flavor profile entirely. The right amount of leavening keeps the pancakes from collapsing after the pan is turned.
The Sweet Touch
Three tablespoons of granulated sugar sweeten the batter without overpowering the delicate flavors. If you prefer a slightly caramelized taste, swap half the sugar for brown sugar. Sugar also helps in achieving a golden crust, but too much can make the pancakes sticky. Keep the sugar to the recommended amount for the best balance.
The Dairy Duo
Milk brings moisture and a subtle tang that balances the sweetness. One cup is ideal; using whole milk adds richness, while skim milk keeps the pancakes lighter. Egg yolks add body and a silky texture, while the egg whites provide lift. If you’re avoiding dairy, try oat or soy milk, but note that the pancakes may not rise as high.
Everything's prepped? Good. Let's get into the real action...
The Method — Step by Step
- Begin by whisking the flour, baking powder, and salt together in a large bowl. This dry mixture ensures even distribution of the leavening agent. Sprinkle the sugar over the dry ingredients and give it a quick stir. The goal is to keep the batter free of lumps; a fine sieve will help. Once the dry mix is ready, set it aside while you tackle the wet components.
- In a separate bowl, gently beat the egg yolks with the milk until the mixture is a uniform pale yellow. The yolks should be fully incorporated, creating a silky base for the batter. Add the melted butter and vanilla extract, whisking until the butter is fully emulsified. This step is crucial because any separation will affect the pancake’s texture.
- Now whisk the egg whites in a clean bowl until they form soft peaks. The key is to avoid over‑whipping; the whites should hold a slight sheen but not be stiff. Fold the beaten whites into the yolk mixture gently, using a spatula in a circular motion. This folding technique preserves the air bubbles, which are responsible for the souffle quality.
- Combine the wet and dry mixtures, stirring until just blended. The batter should be slightly lumpy; over‑mixing will develop gluten and make the pancakes dense. Let the batter rest for five minutes at room temperature. This resting period allows the flour to hydrate fully and the leavening to activate.
- Heat a non‑stick skillet over medium heat and lightly brush it with melted butter or oil. When the butter starts to bubble but not smoke, pour a ¼ cup of batter onto the pan for each pancake. Use the back of a spoon to spread the batter into a thin circle. The batter should sizzle softly, indicating the right temperature.
- Let the pancake cook for two to three minutes on the first side. The edges will lift, and a light golden crust will form. Flip carefully with a spatula and cook the second side for another two minutes. The pancake should be fluffy, with a light, airy interior that rises when you lift it. If it browns too quickly, lower the heat slightly.
- Repeat the process for the remaining batter, adding more butter to the skillet as needed. Stack the finished pancakes on a plate, covering them with foil to keep them warm. The stack will look like a cloud tower, inviting you to dig in. If you’re making this for a crowd, keep the pancakes in a low oven (200°F) to maintain their fluffiness.
- Serve immediately with your favorite toppings—fresh berries, maple syrup, a dusting of powdered sugar, or a dollop of whipped cream. The pancakes are best enjoyed warm, when the steam rises and the flavors are at their peak. If you’re adventurous, drizzle a splash of soy sauce for a sweet‑savory twist that showcases Japanese culinary flair.
That’s it — you did it. But hold on, I've got a few more tricks that'll take this to another level. The next section will reveal insider techniques that even seasoned chefs swear by, ensuring each pancake is a masterpiece of lightness and flavor.
Insider Tricks for Flawless Results
The Temperature Rule Nobody Follows
Many cooks think a hot pan is the secret, but the ideal temperature is actually medium. If the pan is too hot, the batter will brown too quickly on the outside while remaining raw inside. Use a drop of water; if it sizzles and evaporates instantly, the heat is just right. Keep the heat steady by adjusting the stove after the first batch if you notice uneven browning. This small adjustment can mean the difference between a fluffy pancake and a soggy one.
Why Your Nose Knows Best
When the batter hits the pan, a subtle aroma should appear—sweet, buttery, with a faint vanilla note. If the smell is metallic or burnt, the oil is overheated. Your nose can guide you to the perfect temperature; trust it. This sensory checkpoint ensures the pancakes develop a golden crust without compromising the airy interior. A well‑scored aroma signals that the batter is cooking evenly.
The 5‑Minute Rest That Changes Everything
After whisking the egg whites, give them a five‑minute rest before folding them into the batter. This pause allows the proteins to relax, making it easier to maintain the foam when you fold. The rest also gives the leavening agent a chance to activate, ensuring a higher rise. Skipping this step often results in pancakes that are flatter and denser. Incorporate this brief pause, and you’ll notice a noticeable lift in every bite.
The Right Mixing Utensil
A silicone spatula is your best friend for folding the batter. Its flexible edge distributes the mixture evenly without crushing the air bubbles. A wooden spoon can compact the batter, reducing fluffiness. When using a whisk, be gentle—over‑whisking will break the structure you’re trying to preserve. Choosing the right tool is a small detail that pays big dividends.
The Sweet‑Savory Balance
A touch of sea salt can elevate the sweetness without making the pancakes taste salty. Add a pinch of salt to the dry mix, not the batter. The salt enhances the vanilla’s subtle notes and balances the richness of the butter. If you prefer a savory version, try topping the pancakes with a smear of miso butter or a drizzle of soy sauce. This twist showcases the versatility of the basic recipe.
The Quick Cooling Trick
Once the pancakes are cooked, let them rest on a wire rack for a minute before stacking. This brief cooling period prevents the bottom layers from becoming soggy. The rack allows steam to escape, keeping the pancakes crisp on the bottom. If you stack them too soon, the steam condenses, turning the base into a mushy mess. A simple rack makes a world of difference.
Creative Twists and Variations
This recipe is a playground. Here are some of my favorite ways to switch things up:
Berry Burst
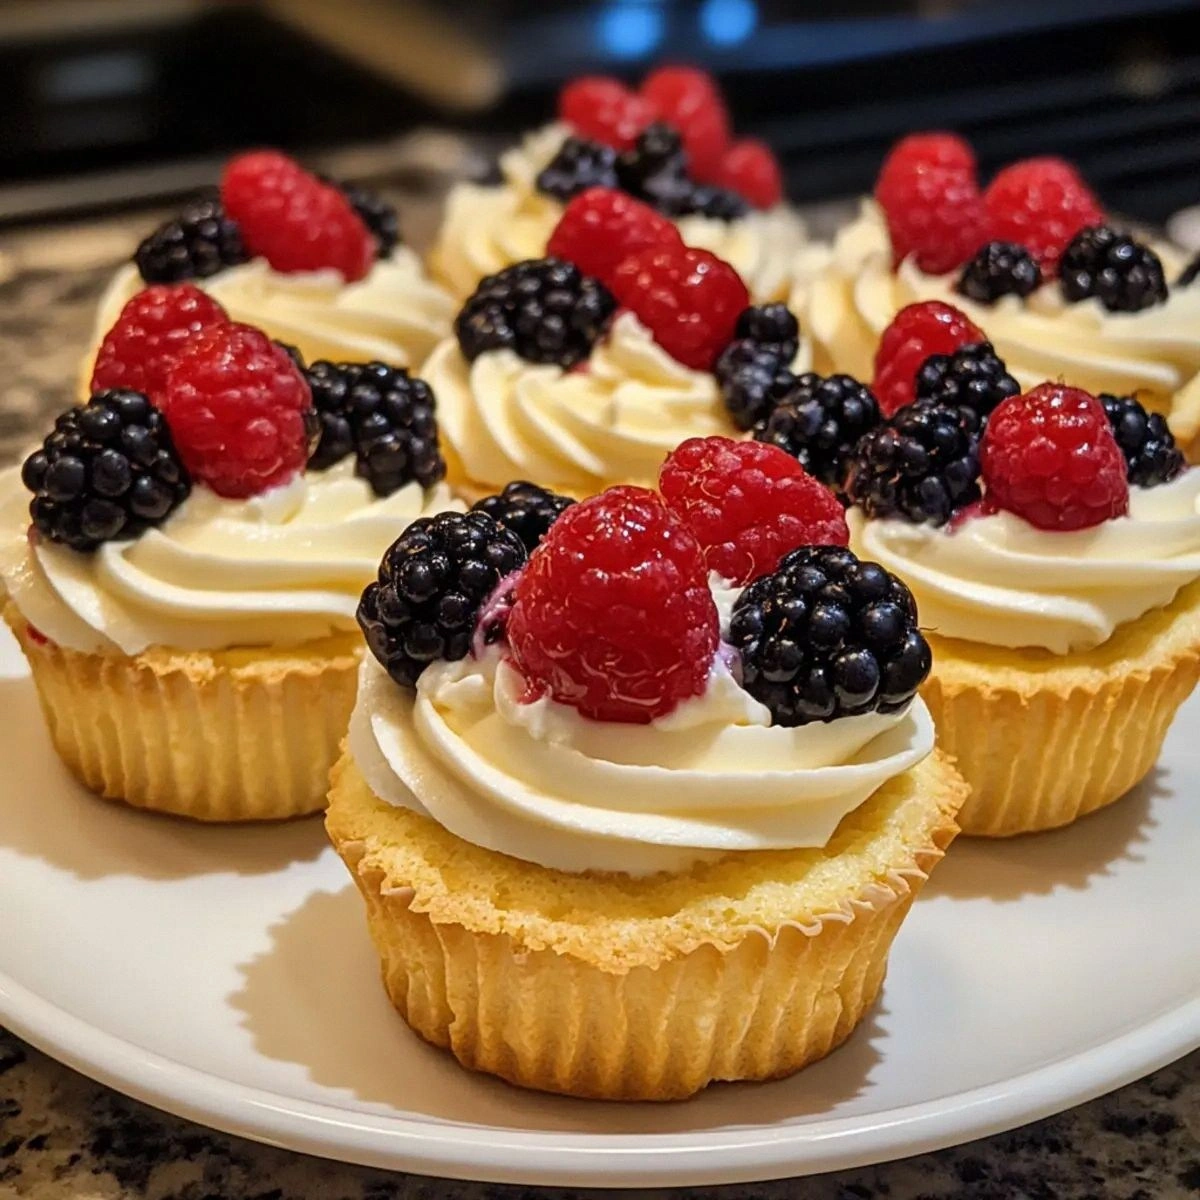
Fold fresh blueberries or sliced strawberries into the batter for a burst of color and flavor. The berries burst when you bite, releasing a sweet juice that pairs beautifully with the airy pancakes. Serve with a dusting of powdered sugar and a drizzle of honey. This variation is perfect for a summer brunch or a quick dessert.
Chocolate Drizzle
Add a tablespoon of cocoa powder to the dry mix for a subtle chocolate undertone. Drizzle melted dark chocolate over the top once the pancakes are plated. The chocolate adds richness without overpowering the delicate batter. Pair with a scoop of vanilla ice cream for a decadent treat.
Matcha Magic
Replace half the flour with matcha powder for a vibrant green hue and earthy flavor. The matcha pairs wonderfully with a light whipped cream and a sprinkle of toasted sesame seeds. This version offers a Japanese twist that’s both visual and gustatory. It’s a hit at tea parties or as a unique breakfast option.
Savory Spin
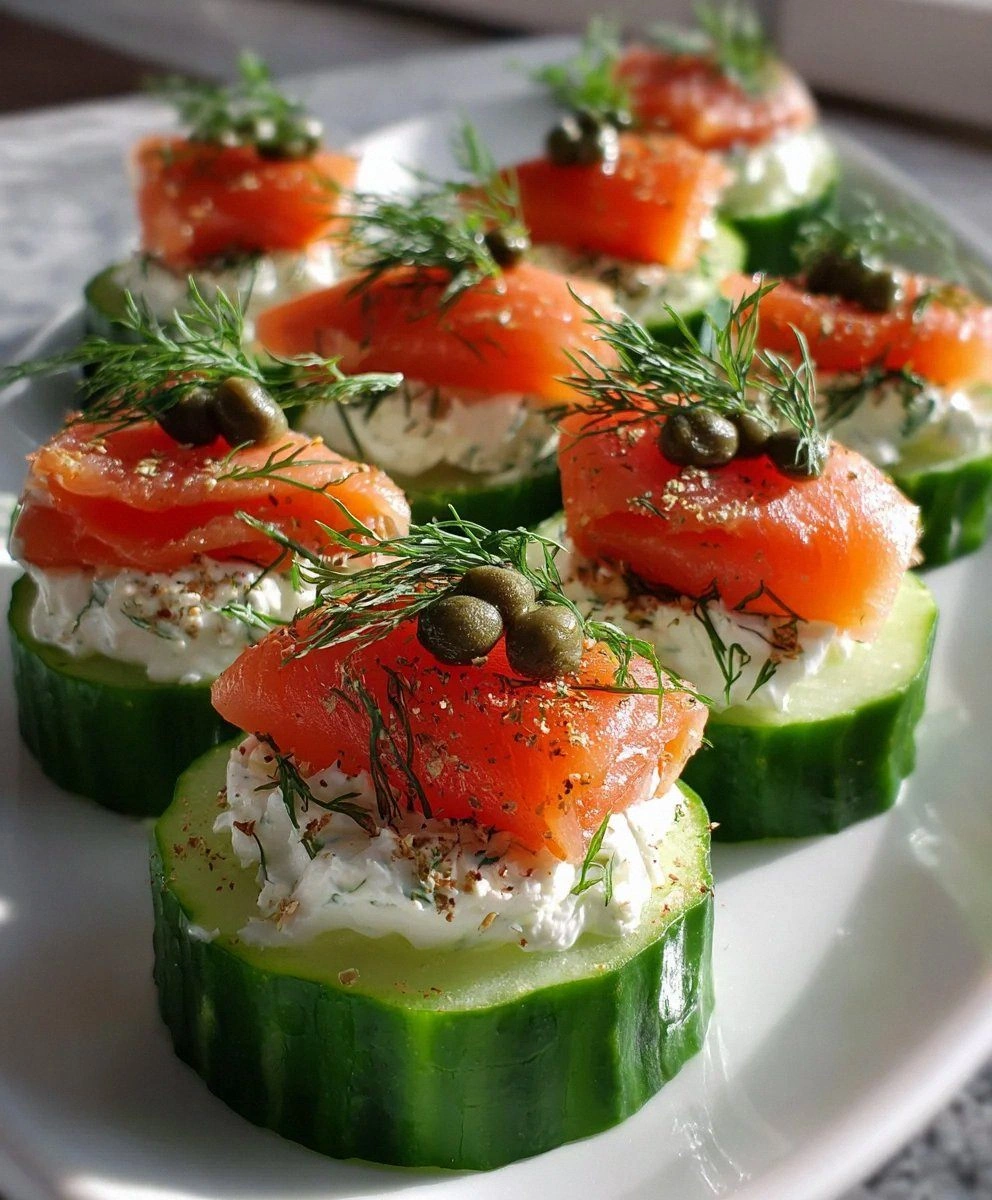
Omit the sugar and add a pinch of dried herbs like thyme or rosemary to the batter. Top the pancakes with smoked salmon and a dollop of crème fraîche for a savory delight. The herbs give a fragrant backdrop that complements the salmon’s richness. This savory spin is ideal for brunch or a light lunch.
Citrus Zest
Grate the zest of one lemon or orange into the batter for a bright, fresh note. The citrus adds a subtle tang that cuts through the butter’s richness. Finish with a spoonful of lemon curd or orange marmalade. This variation is refreshing, especially during warm weather.
Nutty Crunch
Sift in a handful of chopped toasted almonds or pistachios into the batter. The nuts add a delightful crunch and a nutty aroma that complements the vanilla. Serve with a drizzle of almond butter and a sprinkle of sea salt. This version offers a satisfying contrast of textures.
Storing and Bringing It Back to Life
Fridge Storage
Place the cooled pancakes in an airtight container, layering parchment paper between each stack to prevent sticking. Store in the refrigerator for up to 48 hours. When ready to serve, reheat in a toaster or microwave for 20–30 seconds. The pancakes will regain their fluffiness, especially if you add a splash of milk before reheating. This method keeps the texture intact.
Freezer Friendly
For longer storage, freeze the pancakes individually on a parchment‑lined tray. Once frozen, transfer them to a zip‑lock bag. They can be stored for up to three months. Thaw at room temperature, then warm in a skillet or oven at 350°F for 5 minutes. Freezing preserves the airy interior, making them a convenient brunch solution.
Best Reheating Method
The secret to reheating is to keep the pancakes warm without drying them out. Use a low oven or a skillet with a lid to trap moisture. Add a splash of water or milk to the pan before reheating; the steam helps the pancakes regain their softness. Avoid microwaving for too long, as it can make them rubbery. Reheating this way restores the pancakes to their original, fluffy glory.
All right, you’ve mastered the basics, and you’ve explored variations that can transform this dish into a showstopper for any occasion. Whether you’re whipping up a quick weekday breakfast, preparing a brunch for friends, or simply indulging in a sweet treat, these pancakes will never disappoint. The key lies in the meticulous whisk, the gentle folding, and the precise heat control—each step is a note in a symphony of lightness. Keep experimenting with toppings, textures, and flavors, and you’ll discover endless ways to make this simple recipe your own. The next time you hear someone ask for a “breakfast that feels like a cloud,” you’ll be the one to deliver. Bon appétit!