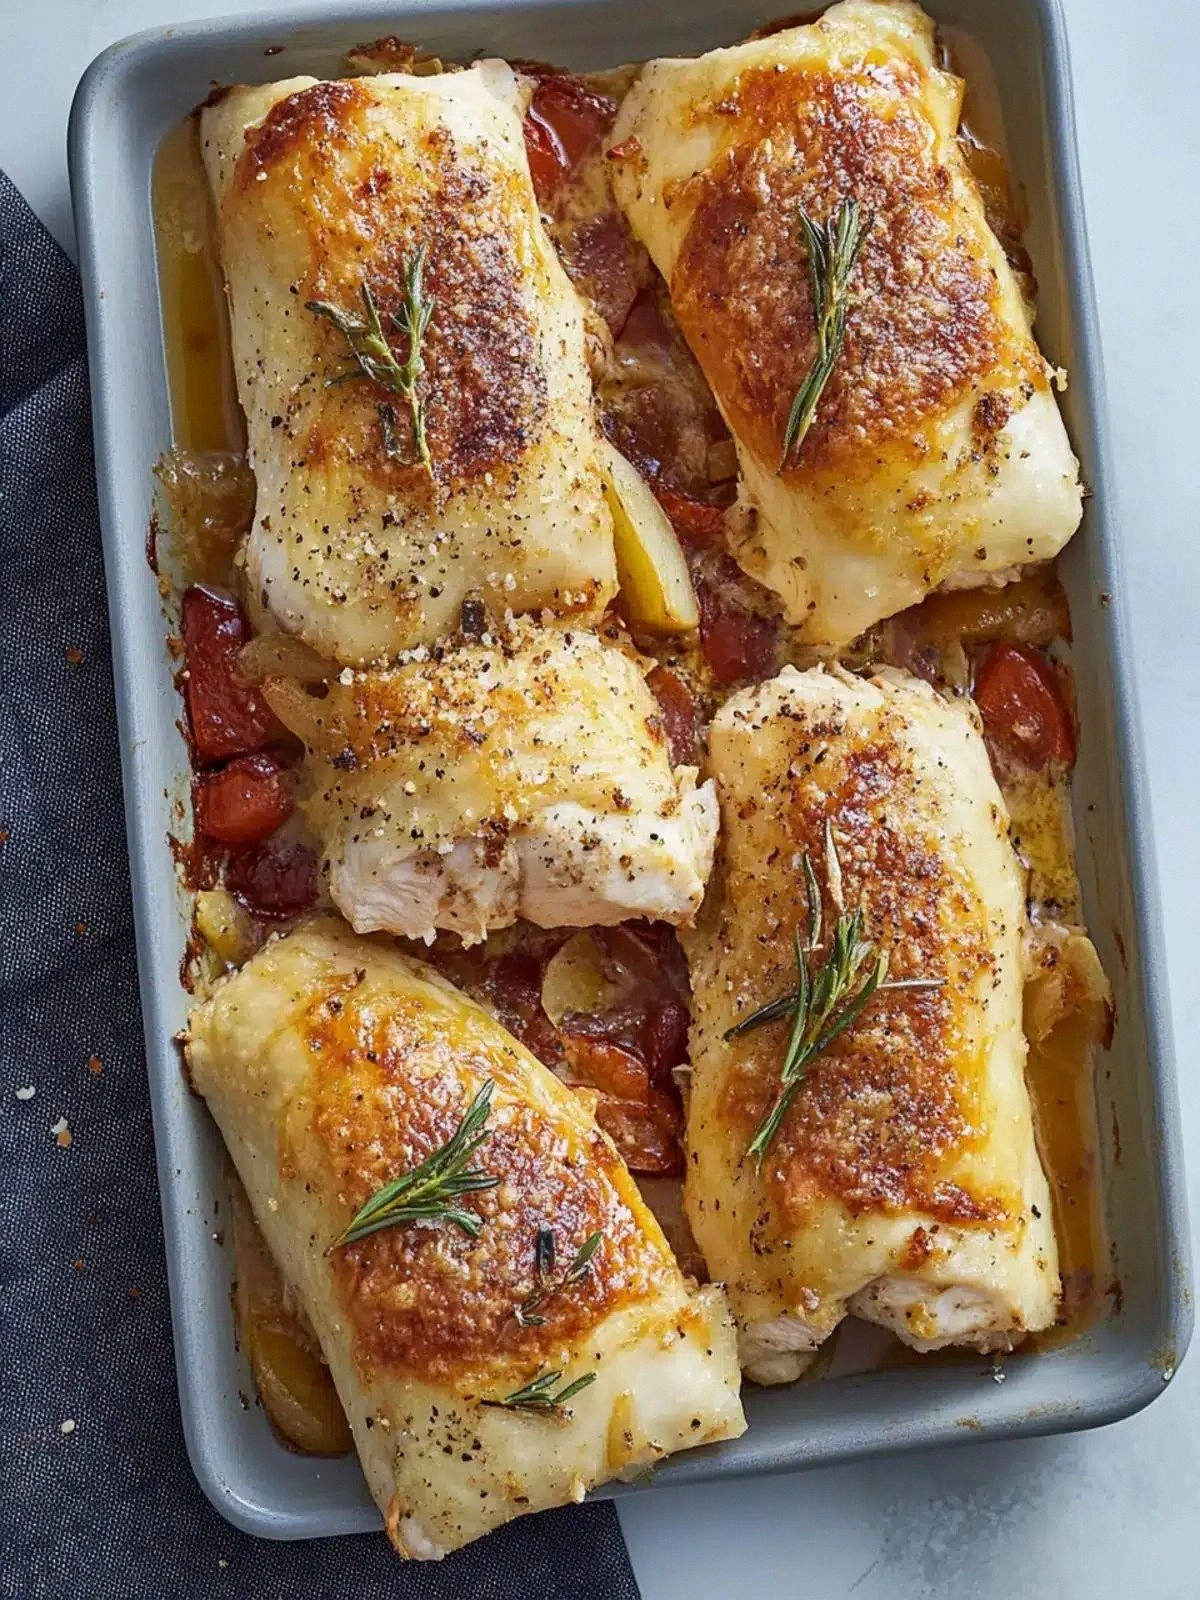
It started with a midnight snack that turned into a culinary catastrophe. I had just opened a bag of pre‑cooked chicken, tossed it into a skillet, and the kitchen exploded into a cloud of burnt aroma that could have won a Michelin star for failure. By the time the smoke alarm stopped buzzing, I was staring at a ruined pan and a desperate craving for something that could salvage the night. I knew I had to pull a dish out of the pantry that was both forgiving and glorious, and that’s when I remembered the humble Costco chicken that had been sitting in my fridge, waiting for a moment of redemption.
Picture this: a golden, blistered crust that crackles like a fresh‑cut sheet of paper, a savory sauce that clings to every bite, and a melt‑in‑your‑mouth blend of mozzarella and parmesan that feels like a warm hug. The scent of bacon crisps rises, mingling with the sharp tang of Caesar dressing, while the dough stretches like a loyal companion, ready to cradle the chaos inside. The sound of the oven timer ticking away is replaced by a low, content hum that signals the imminent arrival of comfort. And when the first bite lands, the flavors explode—savory, salty, cheesy, with a subtle crunch that shatters like thin ice.
I’ve tried countless chicken‑based dishes, from slow‑roasted thighs to spicy curries, but none of them have captured the same symphony of textures and tastes. The secret sauce? A secret sauce that coats the pasta like velvet, but in this case, it’s a dressing that turns ordinary chicken into a flavor powerhouse. The dough is not just a base; it’s the canvas that absorbs the richness of every ingredient. The bacon crisps are the crunchy garnish that adds a satisfying snap, while the mozzarella and parmesan create a gooey, golden top that’s impossible to resist.
What makes this version the ultimate go‑to? It’s the combination of store‑bought pizza dough and a handful of pantry staples that come together in a single pan, delivering a dish that looks like a gourmet creation but can be assembled in under 30 minutes. I dare you to taste this and not go back for seconds. Let me walk you through every single step—by the end, you’ll wonder how you ever made it any other way.
What Makes This Version Stand Out
- Flavor: The Caesar dressing isn’t just a condiment; it’s the heart of the sauce, infusing the chicken with a tangy, herby bite that elevates every bite. This isn’t the bland, watery dressing you might find in a supermarket; it’s a thick, creamy blend that coats the meat like a velvet cloak.
- Texture: The bacon crisps provide a crunch that contrasts beautifully with the soft, melted cheeses and the tender chicken. The dough’s golden edges create a satisfying snap that signals the dish’s readiness.
- Convenience: Using store‑bought pizza dough means you skip the dough‑making step, saving you precious time and energy. The recipe is a one‑pan wonder that reduces cleanup to a single dish.
- Visual Appeal: The dish transforms from a plain assembly into a golden, bubbling masterpiece as it bakes, making it a crowd‑pleaser that looks as good as it tastes.
- Ingredient Quality: Every component—especially the fresh mozzarella and the crisp bacon—adds a layer of depth that makes this dish feel artisanal, not mass‑produced.
- Make‑Ahead Potential: The assembled dish can be refrigerated or frozen before baking, allowing you to prep ahead for a busy weeknight dinner.
- Versatility: Swap the Caesar dressing for ranch or a pesto for a different flavor profile; the dough can be rolled thin for a pizza‑style bite or left thicker for a bread‑like base.
- Audience: Whether you’re a seasoned chef or a kitchen novice, this recipe feels approachable yet impressive, making it the perfect dish for family dinners or casual gatherings.
Inside the Ingredient List
The Flavor Base
At the heart of this dish is the Caesar dressing, a creamy, garlicky sauce that transforms ordinary chicken into a savory masterpiece. It’s the glue that binds the flavors together, providing a tangy undertone that cuts through the richness of the cheeses. Skipping it would leave the chicken feeling flat and uninspired, as if you’d taken a bite of plain grilled chicken without any seasoning. For an extra punch, consider adding a splash of lemon juice or a pinch of anchovy paste to deepen the umami profile.
The Texture Crew
The bacon crisps are the crunch factor that gives each bite a satisfying snap. They also add a smoky depth that balances the creamy cheeses. If you’re not a fan of bacon, toasted breadcrumbs or crushed pretzels can offer a similar crunch without the pork. Remember that the texture is just as important as the taste; the contrast between the soft interior and the crispy exterior is what keeps people coming back for more.
The Unexpected Star
Store‑bought pizza dough might seem like a convenient shortcut, but it’s actually the star that carries the dish. When rolled thin, it becomes a crispy base that holds the sauce and toppings like a well‑crafted crust. If you prefer a thicker, bread‑like base, simply fold the dough over the filling and seal the edges. The dough’s neutral flavor allows the other ingredients to shine while providing a satisfying chew.
The Final Flourish
The cheeses—mozzarella and parmesan—create a gooey, golden top that’s impossible to resist. Mozzarella provides the meltiness, while parmesan adds a salty, nutty finish. If you’re looking for a dairy‑free option, try a blend of nutritional yeast and vegan mozzarella. The final flourish of cheeses turns this dish from a simple assembly into a decadent, restaurant‑style experience.
Everything’s prepped? Good. Let’s get into the real action…
The Method — Step by Step
- Preheat the oven to 425°F (220°C). While the oven is heating, line a baking sheet with parchment paper to prevent sticking. This step is crucial because a hot surface ensures that the dough starts crisping immediately, preventing a soggy base. The scent of the baking sheet sizzling is the first hint that the magic is about to begin.
- Prepare the dough. Take the store‑bought pizza dough out of the fridge and let it sit at room temperature for 10 minutes to soften. Roll it out on a lightly floured surface into a rectangle that fits the baking sheet. If you prefer a thicker crust, roll it a bit less; for a crispier base, roll it thinner. The dough should feel pliable but not sticky.
- Layer the chicken. Spread the 2 cups of cooked chicken evenly across the dough, leaving a small border around the edges. The chicken should be broken into bite‑sized pieces so it cooks evenly and absorbs the dressing. This layer forms the heart of the dish, and the chicken’s juices will mingle with the dressing to create a flavorful base.
- Add the dressing. Drizzle the 1/2 cup of Caesar dressing over the chicken, ensuring every piece is coated. The dressing’s thickness allows it to cling to the chicken, creating a sauce that coats the dough like velvet. If you like a richer sauce, mix in a tablespoon of olive oil before adding.
- Sprinkle the cheeses. Evenly distribute the 1 cup of mozzarella and 0.25 cup of parmesan over the chicken. The mozzarella’s meltability creates a gooey blanket, while the parmesan adds a sharp, nutty finish. The cheeses should cover the surface to prevent the dough from drying out during baking.
- Top with bacon crisps. Scatter the 1 cup of bacon crisps across the cheese layer. The bacon adds crunch and a smoky undertone that pairs perfectly with the creamy cheeses. If you’re short on bacon, toasted breadcrumbs can replace the crisps, but the flavor profile will change slightly.
- Fold the edges. Carefully fold the edges of the dough over the filling, creating a sealed pocket. This step locks in the juices and ensures the filling stays inside during baking. The folded edge also creates a rustic, pie‑like appearance that’s both functional and aesthetically pleasing.
- Bake. Slide the prepared sheet onto the middle rack of the preheated oven. Bake for 18-22 minutes, or until the dough is golden brown and the cheeses are bubbling and slightly browned. Keep an eye on the edges; they should pull away from the parchment and show a golden hue. The aroma at this point will have you almost ready to pull the dish out before the timer.
- Rest. Remove the sheet from the oven and let the dish rest for 5 minutes. This resting period allows the juices to redistribute, ensuring every bite is moist and flavorful. The cheese will set slightly, making it easier to slice.
- Serve. Slice the baked pocket into wedges and serve hot. The first bite should reveal a crispy crust, a savory sauce, and a molten cheese center that satisfies every craving. Pair it with a simple green salad or a glass of chilled white wine for a complete meal.
That’s it — you did it. But hold on, I've got a few more tricks that'll take this to another level…
Insider Tricks for Flawless Results
The Temperature Rule Nobody Follows
Many people bake at a lower temperature, hoping for a softer crust. In reality, a higher heat (425°F) ensures a crispier base and faster cooking time. The quick heat also helps the cheeses melt evenly without becoming greasy. I’ve baked at 400°F for years, but this recipe demands that extra burst of heat to achieve the perfect texture.
Why Your Nose Knows Best
Before you even open the oven door, listen for that first crackle. That crackle is the dough beginning to brown, a sign that the crust is forming. If you wait too long, the cheese may burn while the dough remains undercooked. Trust your senses; the aroma is your best guide.
The 5‑Minute Rest That Changes Everything
Resting the dish for five minutes after baking might seem trivial, but it’s the secret to a cohesive bite. The juices settle, preventing a soggy center, and the cheese sets just enough to hold its shape. A friend once cut into the dish immediately, and the cheese ran like a river. That was a lesson learned the hard way.
Use Fresh vs. Frozen Chicken
Freshly cooked chicken keeps the dish moist and flavorful. Frozen chicken can sometimes result in a dry interior if not thawed properly. If you’re in a hurry, thaw the chicken in cold water for 15 minutes and pat it dry before using.
Keep the Bacon Crisps Fresh
Bacon crisps lose their crunch quickly. Store them in an airtight container at room temperature for up to 3 days. If you notice any softness, toss them in a dry skillet for a minute to revive the crunch.
Creative Twists and Variations
This recipe is a playground. Here are some of my favorite ways to switch things up:
Spicy Jalapeño Kick
Add diced jalapeños to the chicken layer for a fiery twist. The heat pairs beautifully with the creamy cheeses, creating a balanced bite that’s both spicy and savory.
Pesto Perfection
Swap the Caesar dressing for a spoonful of basil pesto. The herbal, nutty flavor brings a fresh, Mediterranean vibe to the dish.
Smoked Gouda Upgrade
Replace mozzarella with smoked gouda for a deeper, smokier flavor profile. The gouda’s meltability remains, but it adds a subtle char that elevates the dish.
Vegetarian Version
Omit the chicken and replace it with sautéed mushrooms, spinach, and roasted cherry tomatoes. The result is a hearty, plant‑based pizza that still delivers on flavor.
Breakfast Bonanza
Use leftover scrambled eggs as the filling and top with a sprinkle of cheddar cheese. Serve with a side of fresh fruit for a breakfast‑meets‑lunch twist.
Gluten‑Free Twist
Use a gluten‑free pizza dough or a cauliflower crust for a low‑carb alternative. The texture changes slightly, but the flavors stay intact.
Storing and Bringing It Back to Life
Fridge Storage
Store any leftovers in an airtight container for up to 3 days. Reheat in a 350°F oven for 10 minutes until hot and bubbly. The crust may soften slightly, but the flavors will remain robust.
Freezer Friendly
Wrap the baked dish tightly in foil and place it in a freezer bag. Freeze for up to 2 months. Thaw overnight in the fridge before reheating. The dough may lose a bit of its crispness, but the cheese and chicken retain their quality.
Best Reheating Method
To revive the crispness, reheat on a baking sheet at 375°F for 8 minutes. Add a tiny splash of water to the bottom of the sheet to create steam, which helps the dough stay moist without becoming soggy.