Picture this: it’s a rainy Saturday, the kind of evening that begs for comfort food that feels like a warm hug. I was rummaging through the pantry, half‑expecting to find a forgotten bag of instant noodles, when a dusty tin of Kewpie mayonnaise caught my eye. I laughed, because I’d never thought mayo could be a hero in a Japanese fried rice, but the idea stuck—what if the creamy, tangy mayo could replace the usual oil, adding a silky richness that clings to every grain? That was the spark that set my culinary adventure ablaze.
The first time I cracked open a pot of Japanese short‑grain rice, the aroma was subtle yet unmistakable, a whisper of earth and steam that promised something special. I sliced the garlic into thin ribbons, letting the scent of fresh cloves mingle with the buttery notes of the butter I’d melted in a pan. When the garlic hit the hot butter, the sizzle was a comforting drumbeat—an audible invitation that the magic was about to begin. The sizzling, the buttery sheen, the gentle clink of the metal spoon against the pan—all combined to create a sensory prelude that made my taste buds tingle in anticipation.
What makes this version stand out? It’s not just the fusion of flavors; it’s the deliberate choreography of texture, the balance of savory and umami, and the way the Kewpie mayo creates a velvety coating that feels almost decadent. I dare you to taste this and not go back for seconds. The garlic is caramelized to a perfect golden hue, the soy sauce adds depth without overpowering, and the parsley gives a fresh, herbal lift that cuts through the richness. Most recipes get this completely wrong—here’s what actually works. And the best part? It’s a dish you can make in under an hour, yet it feels like a gourmet experience.
If you’ve ever struggled to get fried rice that isn’t either too dry or too soggy, you’re not alone—and I’ve got the fix. This is hands down the best version you’ll ever make at home because it marries convenience with a depth of flavor that will leave your guests asking for the recipe. Picture yourself pulling this out of the pan, the whole kitchen smelling incredible, the rice shimmering with a glossy sheen, and the garlic giving off that caramelized aroma that makes you want to dive in immediately. Let me walk you through every single step—by the end, you’ll wonder how you ever made it any other way.
What Makes This Version Stand Out
- Flavor Fusion: The creamy Kewpie mayo melds with the umami of soy sauce, creating a complex taste profile that feels both comforting and sophisticated.
- Texture Perfection: The short‑grain rice is toasted to a slight crunch on the edges while remaining fluffy inside—think crispy edges that shatter like thin ice.
- Simplicity: Only eight ingredients, all pantry staples, meaning you can whip this up in under 45 minutes without a trip to the grocery store.
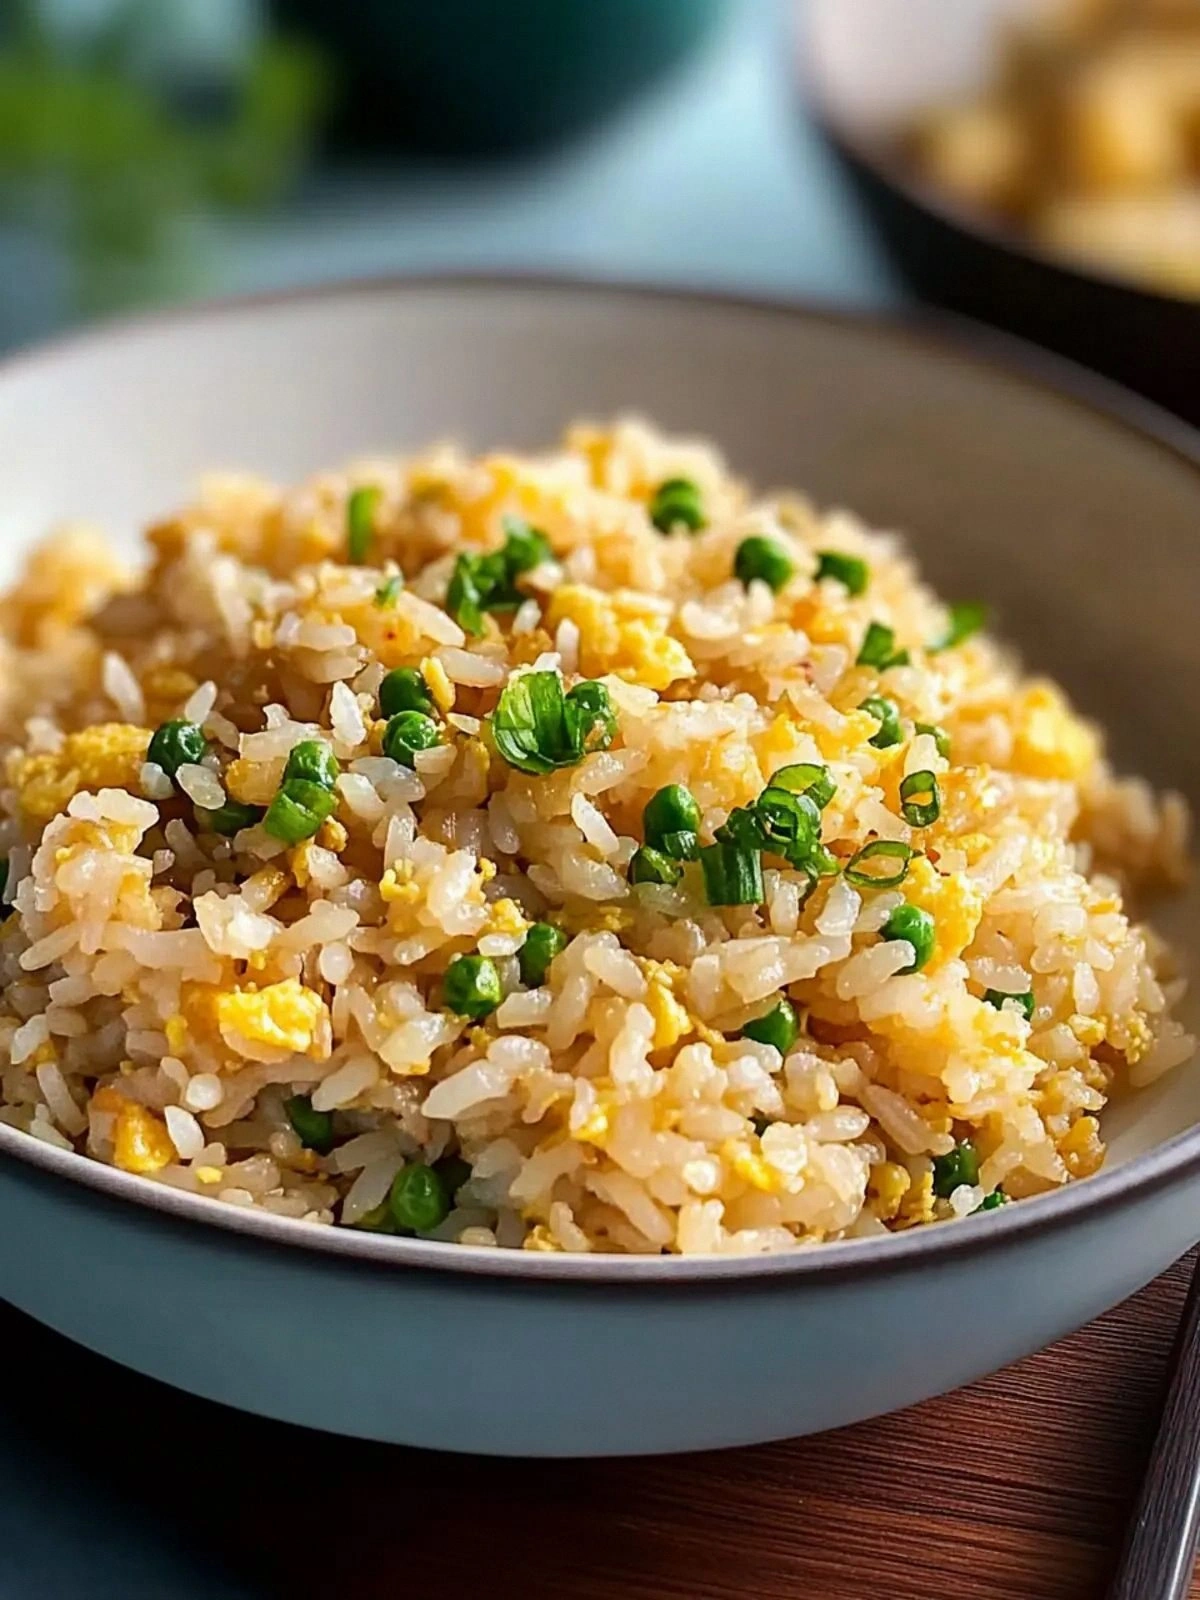
- Visual Appeal: The glossy sheen from the mayo and butter, combined with the bright green parsley, turns a humble rice dish into a showstopper.
- Make‑Ahead Friendly: Store it in the fridge or freezer and reheat without losing that buttery crispness.
- Guest‑Ready: The dish scales beautifully; whether you’re feeding a family or a crowd, the proportions stay spot‑on.
- Health‑Conscious Twist: By using Japanese short‑grain rice and a touch of butter, you keep the dish rich yet balanced—perfect for a cozy night in.
- Chef’s Secret: A quick whisk of eggs before frying adds a silky coating that holds everything together.
Alright, let's break down exactly what goes into this masterpiece...
Inside the Ingredient List
The Flavor Base
Japanese short‑grain rice is the cornerstone of this dish. Its slightly sticky texture holds the sauce and seasonings together, creating a cohesive bite that’s both chewy and tender. If you skip the rice, the dish loses its identity; it becomes a greasy mayo mash. For a lighter version, try substituting half the rice with cauliflower rice, but be prepared for a different mouthfeel.
Kewpie mayonnaise, unlike regular mayo, contains a higher proportion of egg yolk and a touch of rice vinegar, giving it a richer, tangier profile. It coats each grain like velvet, preventing the rice from drying out. If you’re allergic to eggs, a vegan mayo can work, but choose one with a neutral flavor to avoid overpowering the garlic.
The Texture Crew
Unsalted butter is the secret to that buttery, golden crust. It adds depth and a subtle caramelization that elevates the dish beyond plain fried rice. If you’re watching sodium, replace half the butter with olive oil, but note that the flavor will shift slightly.
Eggs bind the rice together, creating a silky, cohesive texture. They also add protein, making the dish more satiating. If you prefer a vegan version, whisk a tablespoon of silken tofu with a splash of soy sauce to mimic the binding properties.
The Unexpected Star
Garlic is the star that brings everything together. When sliced thin and fried until caramelized, it releases a sweet, nutty flavor that lingers on the palate. If you love a punch of heat, add a pinch of red pepper flakes when you fry the garlic.
Soy sauce is the umami backbone. It balances the sweetness of the mayo and the richness of the butter. Use a low‑sodium version if you’re mindful of your salt intake, but be sure to taste before adding more seasoning.
The Final Flourish
Finely chopped parsley adds a bright, herbaceous finish that cuts through the richness. It also provides a pop of color that makes the dish Instagram‑ready. If parsley isn’t available, a sprinkle of chopped scallions works as a suitable alternative.
Sea salt is the finishing touch that rounds out the flavors. It’s a reminder that sometimes, the simplest seasonings have the most profound impact. A pinch of salt is all you need to bring everything together.
Everything's prepped? Good. Let's get into the real action...
The Method — Step by Step
- Begin by rinsing the Japanese short‑grain rice under cold water until the water runs clear. This removes excess starch, preventing the rice from becoming gummy. Drain well and set aside.
- In a large non‑stick skillet, melt the butter over medium heat until it foams and turns a light golden hue. The butter should not brown; if it does, lower the heat to avoid a burnt flavor.
- Add the sliced garlic to the butter and sauté until it turns translucent and starts to turn golden brown—about 2–3 minutes. The sizzle when it hits the pan? Absolute perfection. Keep a close eye; garlic can burn quickly.
- Whisk the eggs in a small bowl until the whites and yolks are fully blended. Pour the eggs into the skillet, letting them swirl around the garlic. Scramble gently, allowing the eggs to form soft curds that coat the garlic and butter.
- Stir in the cooked rice, breaking up any clumps. The rice should be heated through and start to develop a slight crust on the bottom. This is the moment of truth—watch the edges; they should begin pulling away from the pan.
- Pour the Kewpie mayonnaise over the rice and stir vigorously. The mayo should coat every grain, creating a glossy, creamy surface. If the mixture looks too dry, add a splash of soy sauce to loosen it slightly.
- Season with soy sauce and sea salt to taste. Stir until the flavors meld, and the rice has a uniform color. This is where the umami kicks in, giving the dish depth.
- Fold in the finely chopped parsley, allowing the bright green to distribute evenly. The parsley not only adds flavor but also a pop of color that makes the dish visually stunning.
- Reduce the heat to low and cover the skillet for 2 minutes. This step lets the flavors marry and the rice finish steaming. When you lift the lid, a fragrant steam should billow, signaling that the dish is ready.
- Serve hot straight from the skillet. Garnish with extra parsley or a drizzle of sesame oil if you like. The finished dish should feel like a warm hug with a burst of umami and a satisfying crunch.
That's it — you did it. But hold on, I've got a few more tricks that'll take this to another level...
Insider Tricks for Flawless Results
The Temperature Rule Nobody Follows
Many cooks lower the heat too early, causing the rice to steam instead of fry. Keep the heat medium for the first five minutes, then reduce to low only after the eggs have set. This ensures a golden crust and a fluffy interior. I once tried this and ended up with soggy rice—lesson learned the hard way.
Why Your Nose Knows Best
Before adding soy sauce, inhale the aroma of the garlic and butter. The scent will tell you if the garlic is just caramelized or starting to burn. A fresh, nutty aroma signals the perfect moment to add the next ingredient.
The 5-Minute Rest That Changes Everything
After you cover the skillet for the final 2 minutes, let the dish rest for 5 minutes before serving. This allows the flavors to settle and the rice to firm up slightly, giving it a more cohesive bite.
The Secret to a Crispy Edge
Press the rice gently with the back of a spatula before covering the skillet. This compacts the grains and encourages a crispy edge that’s a delightful contrast to the soft interior.
The Parsley Pop
Add parsley at the very end to preserve its bright color and fresh flavor. If you add it too early, the heat will wilt it and the green will fade.
Creative Twists and Variations
This recipe is a playground. Here are some of my favorite ways to switch things up:
Spicy Sriracha Kick
Add a tablespoon of Sriracha to the sauce mix for a fiery, sweet heat that pairs beautifully with the creamy mayo. This variation is perfect for those who love a bit of spice.
Seafood Surprise
Stir in cooked shrimp or scallops during the last step for a protein boost. The seafood’s natural sweetness complements the umami of the soy sauce.
Veggie‑Rich Upgrade
Fold in sautéed mushrooms, diced carrots, and peas for a colorful, nutrient‑dense version. The veggies add a pleasant bite and make the dish more filling.
Coconut Cream Twist
Replace half the butter with coconut milk for a tropical twist. The coconut’s subtle sweetness balances the savory notes and adds a silky mouthfeel.
Herb Garden Edition
Swap parsley for fresh basil or cilantro for a different aromatic profile. Each herb brings its own character, turning the dish into a fresh, vibrant experience.
Gluten‑Free Version
Use a gluten‑free soy sauce and ensure the rice is certified gluten‑free. The dish remains delicious and safe for those with dietary restrictions.
Storing and Bringing It Back to Life
Fridge Storage
Cool the fried rice to room temperature, then transfer to an airtight container. Store in the refrigerator for up to 3 days. The butter and mayo will keep the rice moist, preventing it from drying out.
Freezer Friendly
For longer storage, divide the rice into portioned containers and freeze for up to 2 months. Wrap tightly with plastic wrap before sealing to avoid freezer burn.
Best Reheating Method
Reheat in a skillet over medium heat, adding a splash of water or broth to create steam. This trick steams the rice back to its original fluffy texture. Finish with a quick stir to redistribute the mayo for a glossy finish.