
Key Lime Pie
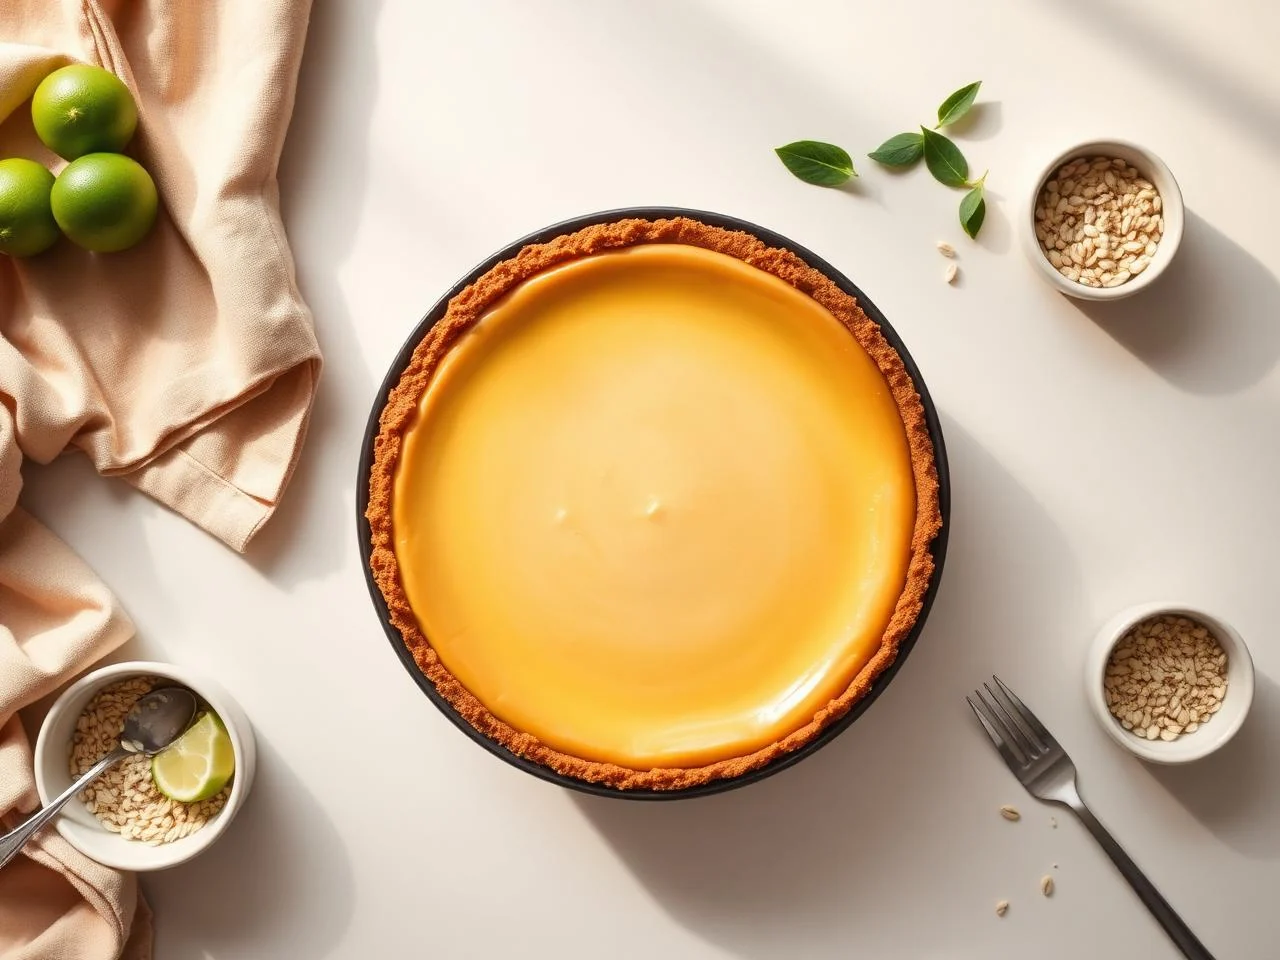
Key Lime Pie is a classic dessert that never goes out of style, and for good reason - its combination of tangy lime juice, sweet condensed milk, and crumbly gluten-free crust is absolutely irresistible. As someone who's had to adapt to a gluten-free lifestyle, I've learned that with a few smart substitutions and some careful technique, it's easy to make a Key Lime Pie that's just as delicious as the traditional version. In this recipe, I'll show you how to make a gluten-free Key Lime Pie that's perfect for any occasion, whether you're a seasoned baker or just starting out.
One of the things I love about Key Lime Pie is its versatility - it's just as at home at a fancy dinner party as it is at a casual family gathering. And because it's so easy to make ahead of time, it's a great option for busy people who want to impress their guests without spending hours in the kitchen. So whether you're a Key Lime Pie aficionado or just looking for a new dessert to try, I hope you'll join me on this culinary adventure and discover the joy of making this delicious treat from scratch.
As a gluten-free baker, I've learned that the key to success is all about the ingredients and the technique. By using a combination of rice flour, tapioca starch, and xanthan gum, we can create a crust that's both tender and crumbly, with just the right amount of texture. And by carefully balancing the flavors in the filling, we can create a pie that's both tangy and sweet, with a smooth and creamy texture that's just perfect for warm weather.
So let's get started and make a Key Lime Pie that's sure to impress your friends and family! With its simple ingredients, easy technique, and delicious flavor, this pie is the perfect dessert for any occasion. And because it's gluten-free, you can enjoy it without worrying about any dietary restrictions.
In this recipe, I'll show you how to make a classic Key Lime Pie with a gluten-free twist. We'll start with the crust, which is made from a combination of rice flour, tapioca starch, and xanthan gum. Then, we'll move on to the filling, which is made from a combination of sweetened condensed milk, lime juice, and eggs. Finally, we'll put it all together and bake it to perfection, resulting in a pie that's both delicious and visually stunning.
Why You’ll Love This Recipe
- This Key Lime Pie recipe is easy to make and requires minimal ingredients
- It's a great dessert for warm weather, with a refreshing and tangy flavor
- The gluten-free crust is tender and crumbly, with just the right amount of texture
- The filling is smooth and creamy, with a beautiful texture that's just perfect for serving
- It's a great option for busy people, as it can be made ahead of time and refrigerated or frozen
- It's a versatile dessert that's perfect for any occasion, from casual gatherings to fancy dinner parties
- It's a great way to impress your friends and family with a delicious and visually stunning dessert
Why This Recipe Works
The key to making a great Key Lime Pie is all about the balance of flavors and textures. By using a combination of sweetened condensed milk, lime juice, and eggs, we can create a filling that's both tangy and sweet, with a smooth and creamy texture that's just perfect for warm weather. And by using a gluten-free crust made from rice flour, tapioca starch, and xanthan gum, we can create a crust that's both tender and crumbly, with just the right amount of texture.
Another important factor in making a great Key Lime Pie is the technique. By carefully whisking the filling ingredients together and pouring them into the crust, we can create a pie that's both smooth and creamy, with a beautiful texture that's just perfect for serving. And by baking the pie at the right temperature and for the right amount of time, we can create a crust that's both golden brown and tender, with a filling that's just set and still slightly jiggly in the center.
Finally, the resting time is also crucial in making a great Key Lime Pie. By letting the pie rest for at least 30 minutes before serving, we can allow the flavors to meld together and the texture to set, resulting in a pie that's both delicious and visually stunning. So whether you're a seasoned baker or just starting out, I hope you'll join me on this culinary adventure and discover the joy of making this delicious treat from scratch.
In addition to the ingredients and technique, the equipment used is also important. By using a high-quality mixing bowl, whisk, and baking dish, we can ensure that our pie turns out perfectly every time. And by using an instant-read thermometer to check the temperature of the filling, we can ensure that it's cooked to perfection and safe to eat.
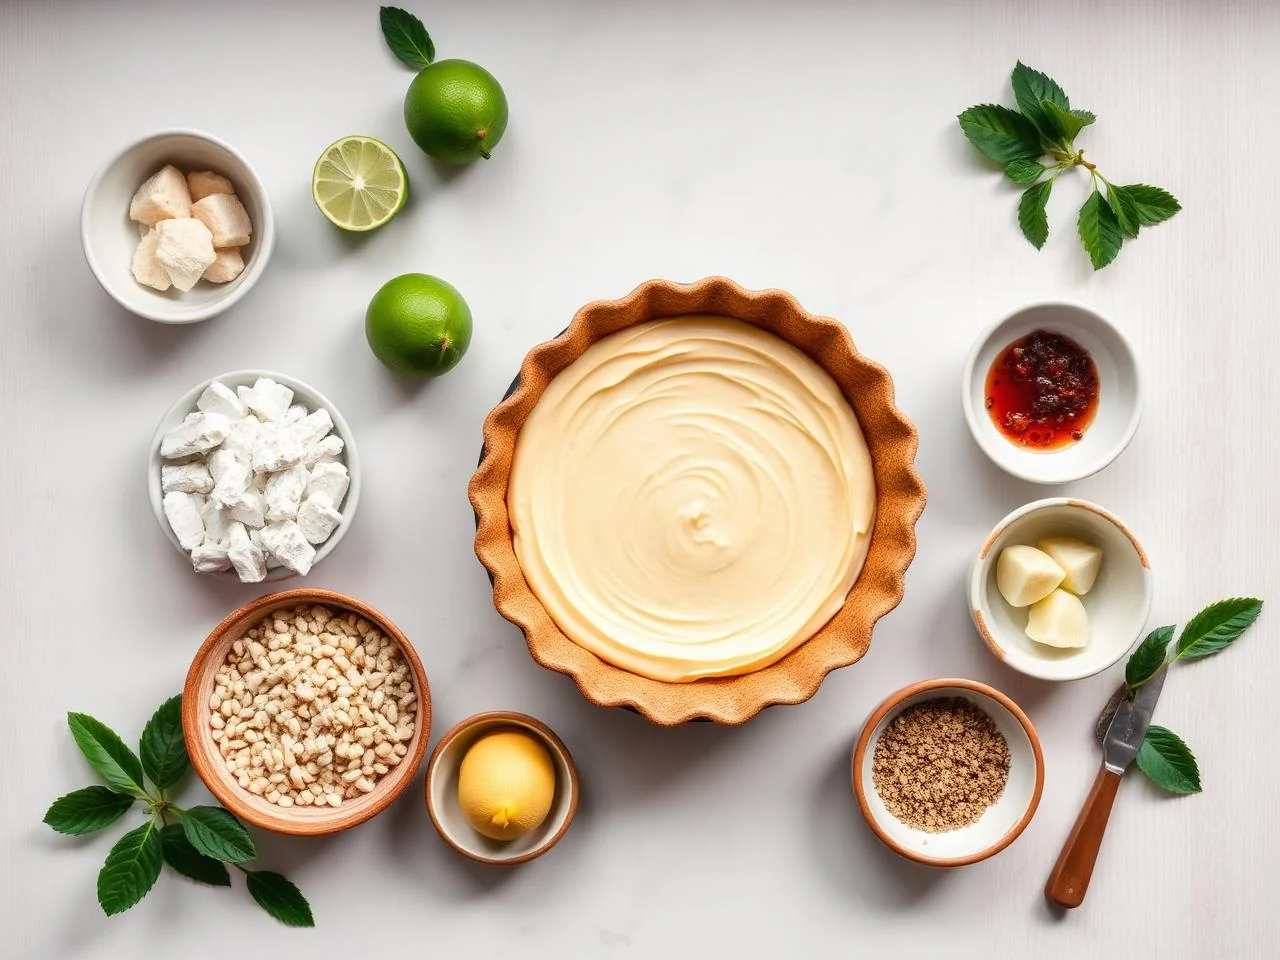
Ingredients You’ll Need
To make this delicious Key Lime Pie, you'll need a few simple ingredients, including a combination of rice flour, tapioca starch, and xanthan gum for the crust, and sweetened condensed milk, lime juice, and eggs for the filling. You'll also need some unsalted butter, granulated sugar, and salt to balance out the flavors. And don't forget to pick up some fresh lime zest and juice for the finishing touches!
When shopping for the ingredients, be sure to choose high-quality items that are fresh and flavorful. For the lime juice, you can use either fresh or bottled juice, depending on your preference. And for the sweetened condensed milk, be sure to choose a brand that's gluten-free and made with high-quality ingredients.
- 1 1/2 cups (190g) rice flourRice flour is a great gluten-free substitute for traditional wheat flour, and it provides a delicate and tender texture to the crust. Be sure to choose a high-quality rice flour that's fresh and flavorful.
- 1/2 cup (60g) tapioca starchTapioca starch is a great thickening agent that helps to balance out the texture of the crust. It's also gluten-free and easy to find in most grocery stores.
- 1 teaspoon xanthan gumXanthan gum is a common gluten-free ingredient that helps to improve the texture and structure of the crust. It's easy to find in most health food stores or online.
- 1/4 cup (50g) granulated sugarGranulated sugar is a great sweetener that adds flavor and texture to the crust. Be sure to choose a high-quality sugar that's fresh and flavorful.
- 1/2 cup (110g) unsalted butter, meltedUnsalted butter is a great addition to the crust, as it adds flavor and tenderness. Be sure to choose a high-quality butter that's fresh and flavorful.
- 2 large eggsEggs are a great binder that helps to hold the filling together. Be sure to choose high-quality eggs that are fresh and flavorful.
- 1 can (14 oz/397g) sweetened condensed milkSweetened condensed milk is a great sweetener that adds flavor and texture to the filling. Be sure to choose a high-quality milk that's gluten-free and made with high-quality ingredients.
- 2 tablespoons freshly squeezed lime juiceFreshly squeezed lime juice is a great addition to the filling, as it adds flavor and brightness. Be sure to choose high-quality limes that are fresh and flavorful.
- 1 teaspoon grated lime zestGrated lime zest is a great addition to the filling, as it adds flavor and texture. Be sure to choose high-quality limes that are fresh and flavorful.
- 1/2 teaspoon saltSalt is a great seasoning that helps to balance out the flavors in the filling. Be sure to choose a high-quality salt that's fresh and flavorful.
- 1/4 teaspoon ground nutmegGround nutmeg is a great spice that adds flavor and warmth to the filling. Be sure to choose a high-quality nutmeg that's fresh and flavorful.
- 1/4 cup (30g) chopped fresh mint leaves, for garnishChopped fresh mint leaves are a great garnish that adds flavor and texture to the finished pie. Be sure to choose high-quality mint leaves that are fresh and flavorful.
Equipment You’ll Need
How to Make Key Lime Pie
- 1Preheat the oven to 350°F (180°C) and prepare the crust by whisking together the rice flour, tapioca starch, xanthan gum, and granulated sugar in a large mixing bowl.
- 2Add the melted butter to the crust mixture and stir until it forms a crumbly dough. Press the dough into the prepared pie dish and bake for 18-20 minutes, or until the crust is lightly golden brown and set.
- 3While the crust is baking, prepare the filling by whisking together the sweetened condensed milk, eggs, lime juice, lime zest, salt, and ground nutmeg in a large mixing bowl.
- 4Once the crust is ready, remove it from the oven and let it cool for 5 minutes. Then, pour the filling mixture into the crust and smooth out the top.
- 5Bake the pie for 15-18 minutes, or until the filling is set and the internal temperature reaches 175°F (80°C). Remove the pie from the oven and let it cool to room temperature.
- 6Once the pie has cooled, refrigerate it for at least 30 minutes to allow the flavors to meld together and the texture to set.
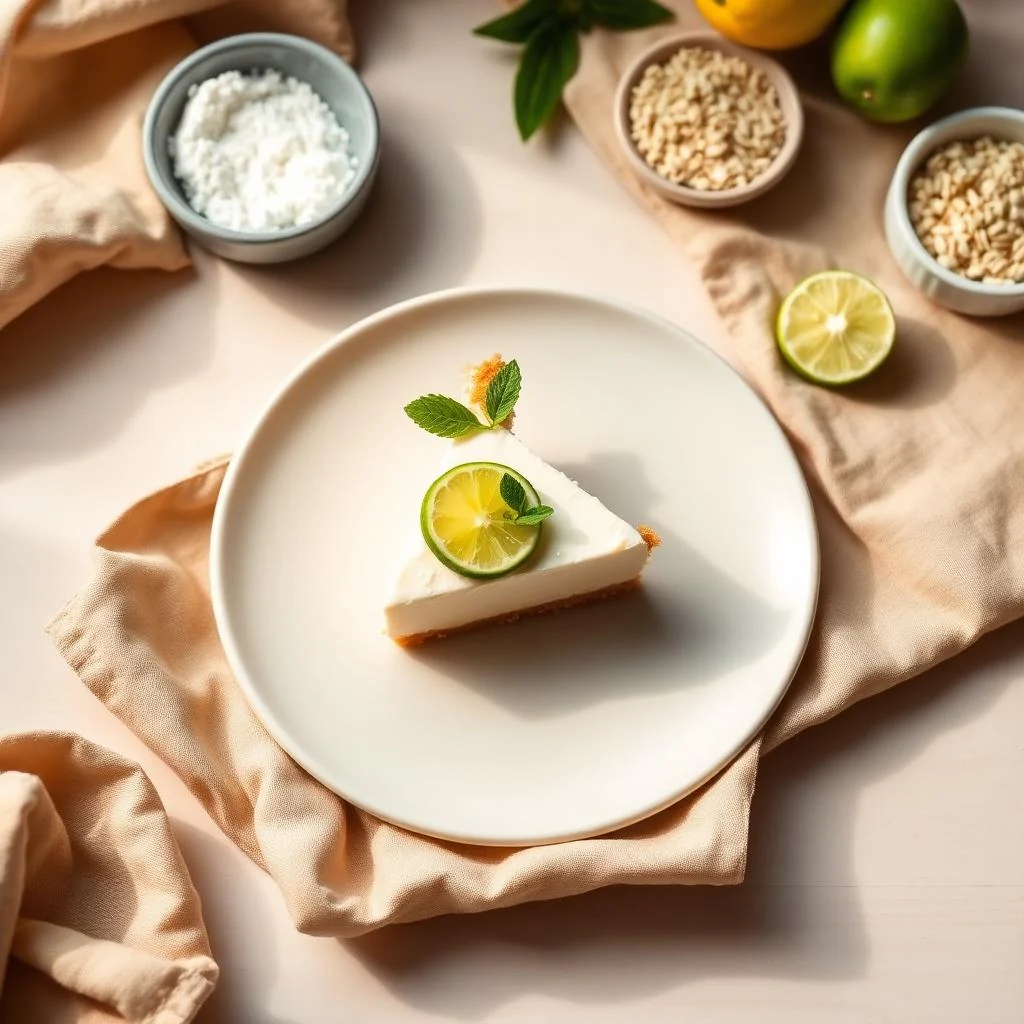
- 7Just before serving, garnish the pie with chopped fresh mint leaves and a sprinkle of granulated sugar.
- 8To serve, slice the pie into wedges and serve chilled. You can also top the pie with whipped cream or a sprinkle of toasted coconut flakes, if desired.
- 9To make ahead, prepare the crust and filling separately and store them in the refrigerator for up to 24 hours. Assemble and bake the pie just before serving.
- 10To freeze, bake the pie and let it cool completely. Then, wrap the pie tightly in plastic wrap and freeze for up to 2 months. Thaw the pie overnight in the refrigerator and serve chilled.
- 11To reheat, thaw the frozen pie overnight in the refrigerator and then bake it in a preheated oven at 350°F (180°C) for 10-15 minutes, or until the filling is warm and the crust is crispy.
Expert Tips
- Make sure to use high-quality ingredients, including fresh lime juice and zest, to get the best flavor out of your pie.
- Don't overmix the filling, as this can cause it to become too thick and sticky.
- If you're using a store-bought pie crust, make sure to follow the package instructions for thawing and baking.
- To ensure that the crust is crispy and golden brown, bake it for the full 18-20 minutes and don't open the oven door until it's done.
- If you're not serving the pie immediately, refrigerate it for at least 30 minutes to allow the flavors to meld together and the texture to set.
- Consider using a pastry brush to brush the crust with a little bit of egg wash before baking, as this can help to create a golden brown color and a crispy texture.
- To make the pie more visually appealing, consider garnishing it with a sprinkle of toasted coconut flakes or a few fresh mint leaves.
- If you're looking for a gluten-free crust that's a little more tender and crumbly, consider using a combination of rice flour and almond flour instead of just rice flour.
Common Mistakes to Avoid
- Not baking the crust for the full 18-20 minutes, which can cause it to be undercooked and soft.
- Overmixing the filling, which can cause it to become too thick and sticky.
- Not refrigerating the pie for at least 30 minutes, which can cause the flavors to not meld together and the texture to not set.
- Using low-quality ingredients, such as old or stale spices, which can affect the flavor of the pie.
- Not using an instant-read thermometer to check the internal temperature of the filling, which can cause it to be undercooked or overcooked.
- Not letting the pie cool to room temperature before refrigerating it, which can cause the crust to become soggy and the filling to become runny.
Variations and Substitutions
- Consider using a combination of lime and lemon juice for a slightly different flavor profile.
- Add a sprinkle of toasted coconut flakes or chopped nuts to the crust for extra texture and flavor.
- Use a different type of milk, such as almond or soy milk, to make the pie dairy-free.
- Add a few drops of food coloring to the filling to make the pie a fun and festive color.
- Consider using a pre-made pie crust or a gluten-free crust mix to make the recipe easier and more convenient.
- Add a layer of whipped cream or toasted meringue to the top of the pie for extra flavor and texture.
- Use a different type of citrus, such as orange or grapefruit, to make a different flavor of pie.
What to Serve With Key Lime Pie
This Key Lime Pie is perfect for serving at any occasion, from casual gatherings to fancy dinner parties. Consider pairing it with a sprinkle of toasted coconut flakes or a few fresh mint leaves for a beautiful and delicious dessert. You can also serve it with a side of whipped cream or a sprinkle of granulated sugar for extra flavor and texture.
Some other great options for serving with this pie include a side of fresh fruit, such as strawberries or blueberries, or a sprinkle of chopped nuts or shredded coconut. You can also consider serving it with a dollop of whipped cream or a sprinkle of cinnamon or nutmeg for extra flavor and texture.
Make-Ahead, Storage, Freezing and Reheating
This Key Lime Pie can be stored in the refrigerator for up to 3 days or frozen for up to 2 months. To store in the refrigerator, simply wrap the pie tightly in plastic wrap and refrigerate at 40°F (4°C) or below. To freeze, wrap the pie tightly in plastic wrap and freeze at 0°F (-18°C) or below.
To thaw the frozen pie, simply leave it in the refrigerator overnight or thaw it at room temperature for a few hours. Once thawed, the pie can be served chilled or reheated in the oven or microwave.
It's also important to note that the pie should be refrigerated or frozen as soon as possible after baking, as this will help to prevent the growth of bacteria and other microorganisms. And when reheating the pie, make sure to heat it to an internal temperature of at least 165°F (74°C) to ensure food safety.
In addition to refrigerating or freezing the pie, you can also consider making it ahead of time and storing it in the refrigerator or freezer until you're ready to serve it. Simply prepare the crust and filling separately and store them in the refrigerator or freezer until you're ready to assemble and bake the pie.
Frequently Asked Questions
What is the best way to make a gluten-free crust?
The best way to make a gluten-free crust is to use a combination of rice flour, tapioca starch, and xanthan gum. This will provide a delicate and tender texture to the crust, and help to prevent it from becoming too crumbly or fragile.
How do I know when the filling is set?
The filling is set when it reaches an internal temperature of 175°F (80°C) and is no longer jiggly in the center. You can check the temperature with an instant-read thermometer, and also check the filling by gently jiggling the pie dish to see if the filling is still liquidy.
Can I use a pre-made pie crust?
Yes, you can use a pre-made pie crust, but make sure to follow the package instructions for thawing and baking. You can also consider using a gluten-free crust mix to make the recipe easier and more convenient.
How do I store the pie?
The pie can be stored in the refrigerator for up to 3 days or frozen for up to 2 months. To store in the refrigerator, simply wrap the pie tightly in plastic wrap and refrigerate at 40°F (4°C) or below. To freeze, wrap the pie tightly in plastic wrap and freeze at 0°F (-18°C) or below.
Can I make the pie ahead of time?
Yes, you can make the pie ahead of time and store it in the refrigerator or freezer until you're ready to serve it. Simply prepare the crust and filling separately and store them in the refrigerator or freezer until you're ready to assemble and bake the pie.
What is the best way to serve the pie?
The best way to serve the pie is to slice it into wedges and serve it chilled. You can also consider serving it with a side of whipped cream or a sprinkle of granulated sugar for extra flavor and texture.
Can I use a different type of milk?
Yes, you can use a different type of milk, such as almond or soy milk, to make the pie dairy-free. Simply substitute the milk in the recipe with the milk of your choice.
How do I prevent the crust from becoming too brown?
To prevent the crust from becoming too brown, make sure to bake it at the right temperature and for the right amount of time. You can also consider covering the crust with foil or a pie shield to prevent it from becoming too brown.
Ingredients
- 1 1/2 cups (190g) rice flour
- 1/2 cup (60g) tapioca starch
- 1 teaspoon xanthan gum
- 1/4 cup (50g) granulated sugar
- 1/2 cup (110g) unsalted butter, melted
- 2 large eggs
- 1 can (14 oz/397g) sweetened condensed milk
- 2 tablespoons freshly squeezed lime juice
- 1 teaspoon grated lime zest
- 1/2 teaspoon salt
- 1/4 teaspoon ground nutmeg
- 1/4 cup (30g) chopped fresh mint leaves, for garnish
Instructions
- Preheat the oven to 350°F (180°C) and prepare the crust by whisking together the rice flour, tapioca starch, xanthan gum, and granulated sugar in a large mixing bowl.
- Add the melted butter to the crust mixture and stir until it forms a crumbly dough. Press the dough into the prepared pie dish and bake for 18-20 minutes, or until the crust is lightly golden brown and set.
- While the crust is baking, prepare the filling by whisking together the sweetened condensed milk, eggs, lime juice, lime zest, salt, and ground nutmeg in a large mixing bowl.
- Once the crust is ready, remove it from the oven and let it cool for 5 minutes. Then, pour the filling mixture into the crust and smooth out the top.
- Bake the pie for 15-18 minutes, or until the filling is set and the internal temperature reaches 175°F (80°C). Remove the pie from the oven and let it cool to room temperature.
- Once the pie has cooled, refrigerate it for at least 30 minutes to allow the flavors to meld together and the texture to set.
- Just before serving, garnish the pie with chopped fresh mint leaves and a sprinkle of granulated sugar.
- To serve, slice the pie into wedges and serve chilled. You can also top the pie with whipped cream or a sprinkle of toasted coconut flakes, if desired.
- To make ahead, prepare the crust and filling separately and store them in the refrigerator for up to 24 hours. Assemble and bake the pie just before serving.
- To freeze, bake the pie and let it cool completely. Then, wrap the pie tightly in plastic wrap and freeze for up to 2 months. Thaw the pie overnight in the refrigerator and serve chilled.
- To reheat, thaw the frozen pie overnight in the refrigerator and then bake it in a preheated oven at 350°F (180°C) for 10-15 minutes, or until the filling is warm and the crust is crispy.